Sunday, April 10, 2011

Connecting the motor via RS-485

I used the USB to RS-485 Converter from SparkFun (BOB-09822) ($19.95) and the cable included with the motor to connect the motor to the USB port on my computer.


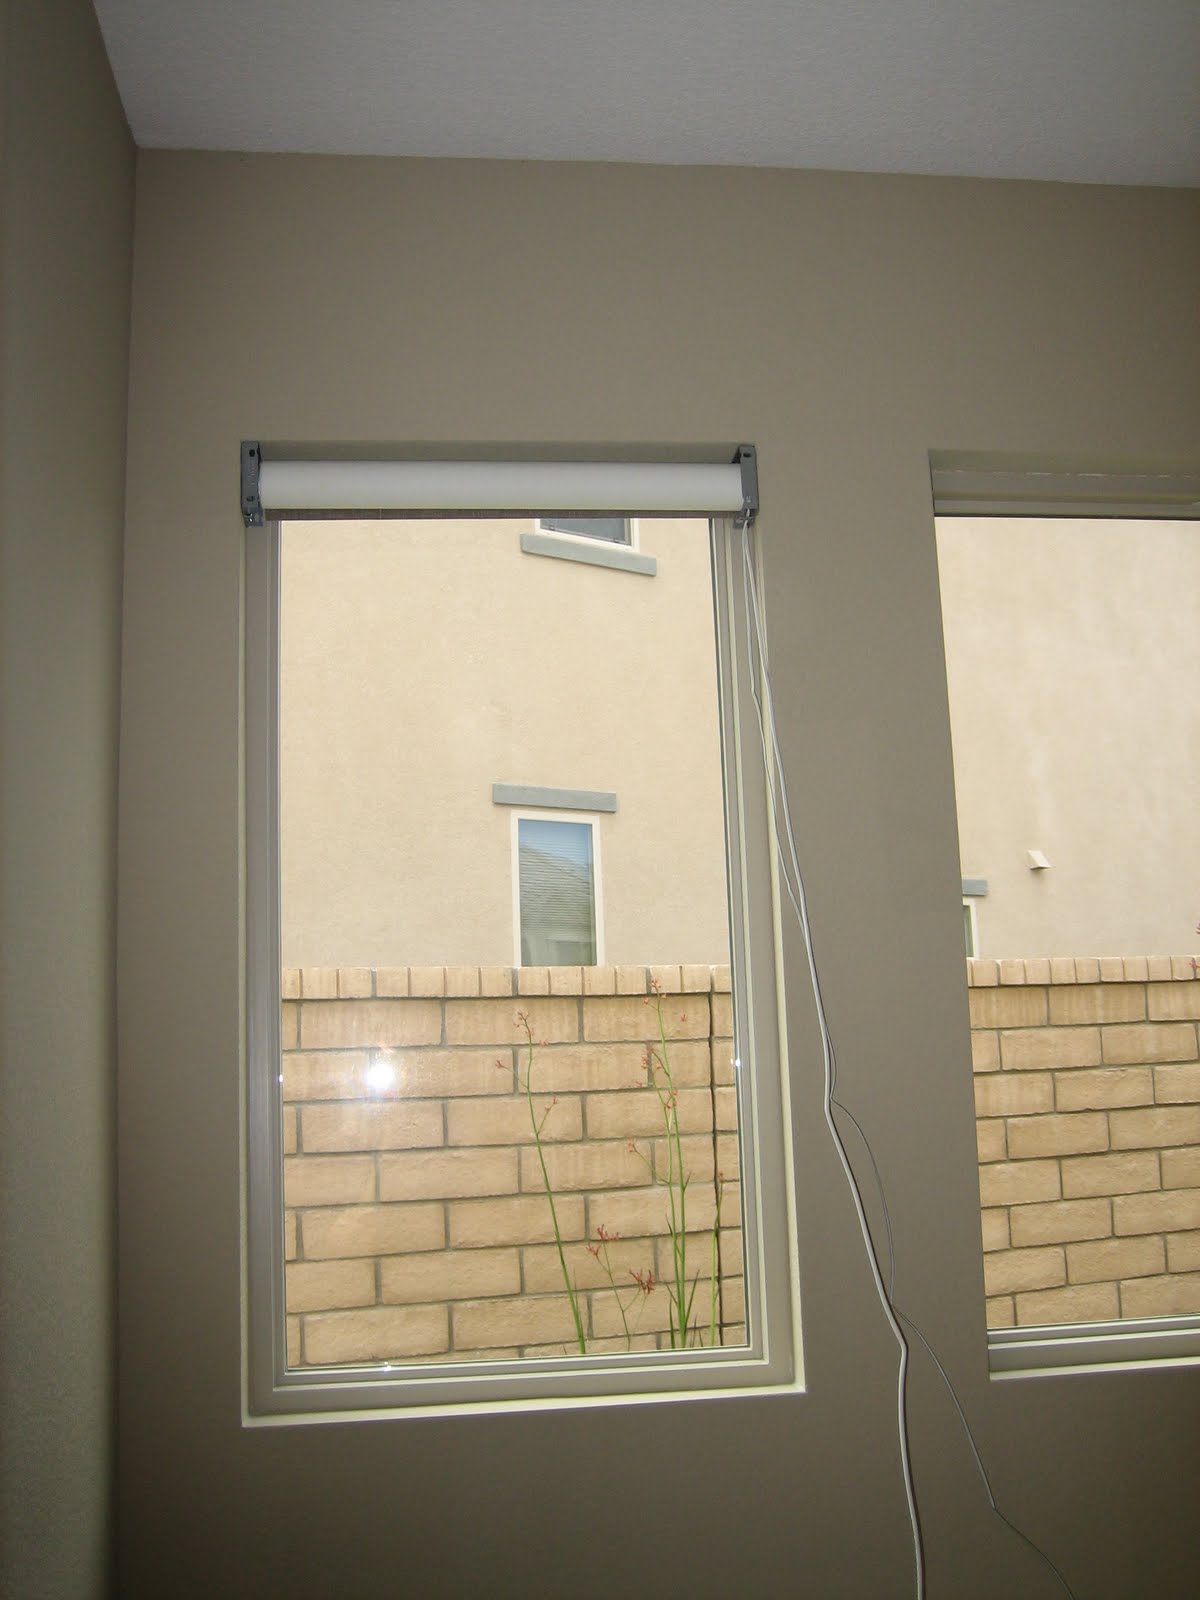
Note that the converter does not come with the screw terminals shown in the picture. That's sold separately by SparkFun (for $1.50) and you have to solder to the board yourself. The board also has holes to solder in an RJ-45 connector, but beware, the pinout is different than what Somfy uses for RJ-45 on their products. The USB cable is also not included.

Next, I installed the software, which is a free download from http://somfy.us/SDNConfig.htmlhttps://www.somfypro.com/downloads. Look for ILT2-ST30. (Thanks go to Moggie on AVS Forum for pointing me to the link, which I wouldn't have found, otherwise.) I should say, I tried to install the software, because it failed the first time with some file permission error. I tried running the installer as administrator, which got further, but failed on another file permission later in the process.

What finally worked was installing the software in a virtual machine running Windows XP. (I'm running Windows 7. Presumably you wouldn't have to go through all of this if you were running Windows XP to begin with.) I used Window XP Mode, which is a free download from Microsoft available for certain versions of Windows 7.

Update (March 4, 2016): The latest version of this software seems to work fine on Windows 10 with no need for a virtual machine.

Here's what the software looks like, once it's finally up and running:


If you just have one motor connected to the network, you can click the "Get Motor Address" button to find out the address. Once you've got the address, you can check the "ST30" checkbox, and it will display the same address as is printed on the motor. (Don't ask me why this extra step is necessary.) The motor also comes with stickers with the addresses printed on them, so you can stick these on a diagram or something, which is probably useful for large installations. It's not possible to read the address that's printed on the motor without disassembling the shade.

With the address inputed, you can use the "Get All Motor Data" button to read and display all of the motor's current settings.

You can use this software to set intermediate positions, motor speed, a textual label, and group addresses (more on groups in the next post), as well as adjust the limits, and do some other stuff that I don't understand. You can also send a bunch of command, like:

  • Go to the up or down limit
  • Go to one of the 16 stored intermediate positions
  • Go to a certain number of pulses from the top (There are more than 100 pulses per revolution of the motor, so this gives you very precise control of the shade position.)
  • Go to a percentage (whole number between 0-100) between the up limit and down limit
Somfy doesn't seem to publish their protocol, but they do publish an app called "ILT Command Calc" (available from the same link at the motor config software), which will show you the commands that need to be sent over the wire to do the things listed above. It doesn't look like it would be difficult to reverse engineer the protocol.

I programmed the motor with a label, "Dining Room Left", and made it a member of two groups, for which I made up the IDs 123456 and 654321. More about this when I a talk about the smart switches, next time.

Sunday, April 3, 2011

Mounting the shade and trying it out

The fascia brackets are the same depth as the frame (3 inches), and the mounting holes are really close to the corners. This meant I couldn't put screws in the holes at the front of the frame, because those would just go into drywall.

I think it would have been secure enough with just the screws at the back, but there was another problem. The tab that you see sticking out in the picture above goes into a slot at the end of the motor. But if it's not close enough to parallel with the axis of the motor, it doesn't slide in all the way. The frame is actually wider at the back than the front, so I shimmed behind the bracket with some folded up paper. To get the front to sit against the frame, I drilled two holes in the bracket where I could put screws into the wood.

I also bent the tab down slightly with pliers to get it lined up properly.

So here's the shade installed:


And in the down position:


And here it is in action:


I will say, I was somewhat disappointed in the noise this makes. It's not that loud, but I wouldn't call it "silent" or "ultra quiet" or say that it could be "barely heard" from three feet away. It's not too bad, I guess, but it's definitely louder than I was expecting.

Using the limit setting tool was fairly easy. Instructions were included with the motor. Note that the limit setting tool just closes the contacts on the motor's dry contact port. There are four pins on the connector: up, stop, down, and ground. So you could easily make your own limit setting tool, if you really wanted.

Next time: interfacing with the computer.

First shade has arrived

My first roller shade arrived, along with accessories:

Pictured above:

  • Fascia and brackets
  • Shade
  • Internal hem bar (removed from shade)
  • Somfy Sonesse 30 (ST30) RS-485 motor (Somfy #1000658)
  • Power and RS-485 cables (included with motor)
  • End plug
  • Limit Setting Tool (Somfy #9014599)
  • Meanwell DRP-240-24 power supply
  • Power/Control Distribution Board (Somfy #1870193)
  • Smart Switches (Somfy #1810827 and #1810828)
Everything above was purchased from AV Outlet, except for the power supply, which I got off of Ebay.

I decided to just purchase one shade first, so I could make sure that this was really what I wanted.

The roller tube came with a bunch of metal shavings in it:

I cleaned this out, since I don't want any of this getting into the motor.

One thing missing here is the cable for the dry contact port on the motor, which is also used to connect the limit setting tool. It seems like this should have been included with the motor, so I fired off and email to AV Outlet. (Update: I just received the cable from AV Outlet. They were great about this.) In the meantime, I figured out a workaround. The RS-485 cable has a three conductor connector, which will fit in the four connector dry contact port:


The ground pin in the port is the same ground as the power port, so I plugged in the three pin connector such that it didn't cover the ground. I then used an alligator clip to jump the ground from the power supply output to the ground on the limit setting tool. Here's what my temporary wiring looks like:


Note there's a fuse (2 amps) in between the power supply positive terminal and the power lead for the motor. The power/control distribution panel has it's own fuses, which is what I will use in the final setup.

Next post will about mounting the shade.

Friday, April 1, 2011

First Post!

Welcome to my humble blog! I hope to use this blog to document my home automation system, as I build it. I don't know if anyone will find this interesting, but I'd like to document it for myself, if nothing else.