 I think it would have been secure enough with just the screws at the back, but there was another problem. The tab that you see sticking out in the picture above goes into a slot at the end of the motor. But if it's not close enough to parallel with the axis of the motor, it doesn't slide in all the way. The frame is actually wider at the back than the front, so I shimmed behind the bracket with some folded up paper. To get the front to sit against the frame, I drilled two holes in the bracket where I could put screws into the wood.
 I also bent the tab down slightly with pliers to get it lined up properly.
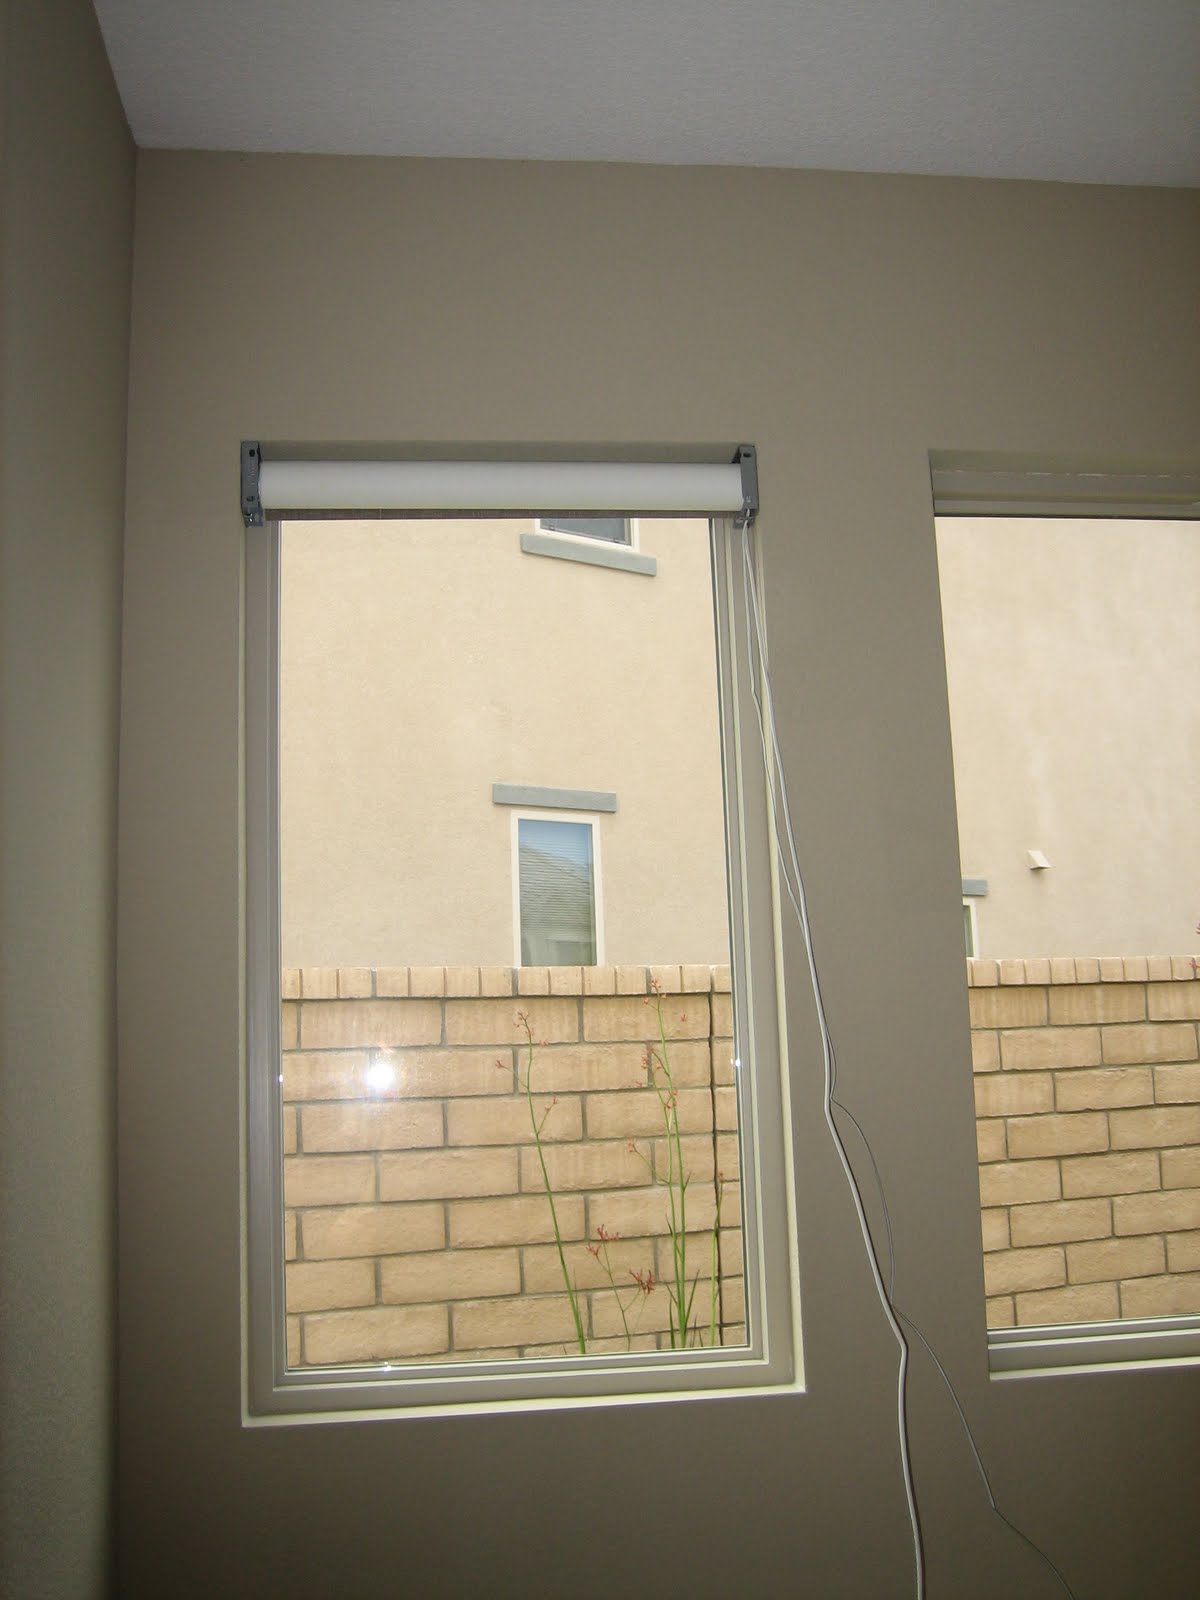
So here's the shade installed:
And in the down position:

And here it is in action:
I will say, I was somewhat disappointed in the noise this makes. It's not that loud, but I wouldn't call it "silent" or "ultra quiet" or say that it could be "barely heard" from three feet away. It's not too bad, I guess, but it's definitely louder than I was expecting.
Using the limit setting tool was fairly easy. Instructions were included with the motor. Note that the limit setting tool just closes the contacts on the motor's dry contact port. There are four pins on the connector: up, stop, down, and ground. So you could easily make your own limit setting tool, if you really wanted.
Next time: interfacing with the computer.
No comments:
Post a Comment